


.png)


.png)

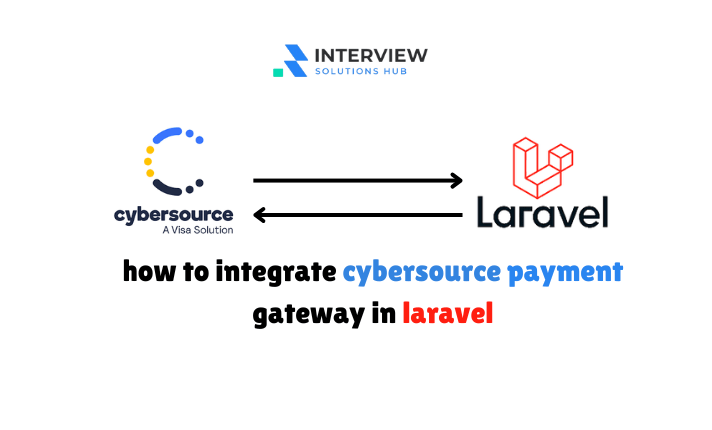
how to integrate cybersource payment gateway in laravel
Read More

.png)
Summernote is a popular open-source WYSIWYG (What You See Is What You Get) editor that lets you easily create and edit rich text content. In this tutorial, we will see how to use the Summernote editor in a Laravel 10 application. This guide contains installation instructions and code examples for several Laravel versions.
First, you must install the Laravel project on your machine, and then proceed with the steps listed below.
First, we will need to install Summernote with npm. Open the terminal and go to the root directory of your Laravel project. Then, run this command:
npm install summernoteIn the<head> section of your blade file, include jQuery, Bootstrap, and Summernote CSS and JavaScript files using CDN links.
    <script src="https://code.jquery.com/jquery-3.5.1.min.js" crossorigin="anonymous"></script>
    <script src="https://cdn.jsdelivr.net/npm/[email protected]/dist/umd/popper.min.js"></script>
    <link rel="stylesheet" href="https://stackpath.bootstrapcdn.com/bootstrap/4.4.1/css/bootstrap.min.css">
    <script src="https://stackpath.bootstrapcdn.com/bootstrap/4.4.1/js/bootstrap.min.js"></script>
    <link href="https://cdn.jsdelivr.net/npm/[email protected]/dist/summernote-bs4.min.css" rel="stylesheet">
<script src="https://cdn.jsdelivr.net/npm/[email protected]/dist/summernote-bs4.min.js"></script>Create the necessary blade structure for the editor form within a container.
Use JavaScript to initialize Summernote in the designated textarea with the .summernote class.
@extends('layouts.app')

@section('content')
<div class="container">
    <h1>Summernote Editor</h1>
   // add your  form field
    <textarea id="summernote"></textarea>
</div>
@endsection

@section('scripts')
<script>
    $(document).ready(function() {
        $('#summernote').summernote({
            height: 300,
            toolbar: [
                ['style', ['style']],
                ['font', ['bold', 'italic', 'underline', 'clear']],
                ['fontsize', ['fontsize']],
                ['color', ['color']],
                ['para', ['ul', 'ol', 'paragraph']],
                ['table', ['table']],
                ['insert', ['link', 'picture', 'video']],
                ['view', ['fullscreen', 'codeview']],
            ]
        });
    });
</script>
@endsectionCreate a form that captures user inputs, including a title and the Summernote content.
Here's a simplified version of your blade file with headings and subheadings:
<html>
<head>
    <title>How to Use Summernote WYSIWYG Editor with Laravel? </title>
    <script src="https://code.jquery.com/jquery-3.5.1.min.js" crossorigin="anonymous"></script>
    <script src="https://cdn.jsdelivr.net/npm/[email protected]/dist/umd/popper.min.js"></script>
    <link rel="stylesheet" href="https://stackpath.bootstrapcdn.com/bootstrap/4.4.1/css/bootstrap.min.css">
    <script src="https://stackpath.bootstrapcdn.com/bootstrap/4.4.1/js/bootstrap.min.js"></script>
    <link href="https://cdn.jsdelivr.net/npm/[email protected]/dist/summernote-bs4.min.css" rel="stylesheet">
    <script src="https://cdn.jsdelivr.net/npm/[email protected]/dist/summernote-bs4.min.js"></script>
</head>
<body>
    <div class="container">
        <div class="row">
            <div class="col-md-8 offset-2 mt-5">
                <div class="card">
                    <div class="card-header bg-info">
                        <h6 class="text-white">How to Use Summernote WYSIWYG Editor with Laravel?</h6>
                    </div>
                    <div class="card-body">
                        <form method="post" action="" enctype="multipart/form-data">
                            @csrf
                            <div class="form-group">
                                <label>Title</label>
                                <input type="text" name="name" class="form-control"/>
                            </div>

                            <div class="form-group">
                                <label><strong>Description :</strong></label>
                                <textarea id="summernote" name="description"></textarea>
                            </div>
                            <div class="form-group text-center">
                                <button type="submit" class="btn btn-success btn-sm">Save</button>
                            </div>
                        </form>
                    </div>
                </div>
            </div>
        </div>
    </div>
    <script type="text/javascript">
        $(document).ready(function() {
          $('.summernote').summernote();
        });
    </script>
</body>
</html>
To display the Summernote content in your Laravel application, use the
{!! $post->description !!}
Now you can check your own.
You can also use CKEditor, as shown here: Laravel CKEditor Example.
By following these steps, you can seamlessly integrate the Summernote WYSIWYG editor into your Laravel project, allowing for easy and intuitive content creation and formatting.

Greetings, I'm a passionate full-stack developer and entrepreneur. I specialize in PHP, Laravel, React.js, Node.js, JavaScript, and Python. I own interviewsolutionshub.com, where I share tech tutorials, tips, and interview questions. I'm a firm believer in hard work and consistency. Welcome to interviewsolutionshub.com, your source for tech insights and career guidance.
Recent posts form our Blog
.png)


isefriyan
sangat membantu,terimakasih🙏