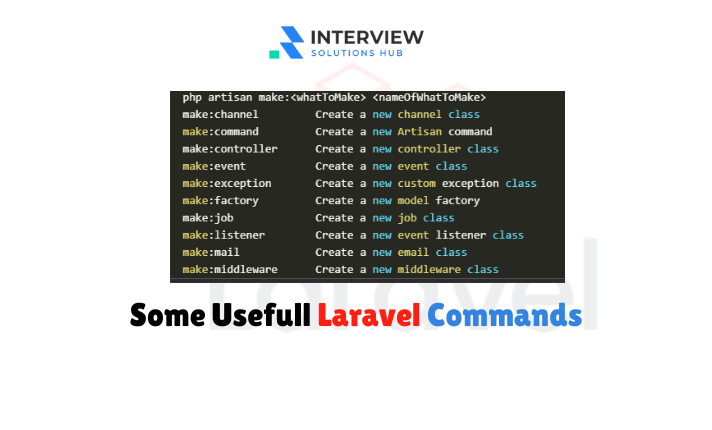
Usefull Laravel Artisan Commands with Examples
Read More

 Install Guide Windows, Linux, and macOS.png)
Node Version Manager (NVM) is a powerful tool that allows developers to easily manage multiple versions of Node.js and npm on their machines. Whether you're working on different projects that require specific Node.js versions or just want to experiment with the latest features, NVM makes it simple to switch between versions without any hassle. In this guide, we’ll walk you through the installation process for Windows, Linux, and macOS.
NVM stands for Node Version Manager. It’s a command-line tool that lets you:
Below are step-by-step instructions for installing NVM on each operating system.
Step 1: Open Your Terminal
On Linux or macOS, open your terminal. You can use the default terminal or any terminal emulator like iTerm2 (macOS) or GNOME Terminal (Linux).
Step 2: Install NVM
Run the following command to download and install NVM:
curl -o- https://raw.githubusercontent.com/nvm-sh/nvm/v0.39.5/install.sh | bashThis script clones the NVM repository to ~/.nvm and adds the necessary configuration to your shell profile (~/.bashrc, ~/.zshrc, or ~/.profile).
Step 3: Reload Your Shell
After installation, reload your shell configuration:
source ~/.bashrc  # For Bash

source ~/.zshrc   # For Zsh
Step 4: Verify the Installation
Check if NVM is installed correctly:
nvm --versionIf you see a version number (e.g., 0.39.5), NVM is ready to use!
2. Installing NVM on Windows
On Windows, NVM is not natively supported, but you can use nvm-windows, a similar tool designed for Windows.
Step 1: Download nvm-windows
Step 2: Run the Installer
Step 3: Verify the Installation
Open a new Command Prompt or PowerShell window and run:
nvm --versionIf you see a version number, NVM is installed successfully.
Now that NVM is installed, let’s see how to use it to install and manage Node.js versions.
Install a Specific Node.js Version
To install a specific version of Node.js (e.g., 18.0.0), run:
nvm install 18.0.0Install the Latest Node.js Version
To install the latest stable version of Node.js, run:
nvm install nodeSwitch Between Node.js Versions
To switch to a different installed version, use:
nvm use 18.0.0Set a Default Node.js Version
To set a default version for all new terminal sessions, run:
nvm alias default 18.0.0List Installed Node.js Versions
To see all installed versions, run:
nvm lsUninstall a Node.js Version
To remove a specific version, use:
nvm uninstall 18.0.0NVM Command Not Found
If you get a command not found error after installing NVM:
Permission Denied Errors
On Linux/macOS, if you encounter permission issues, try running commands with sudo or adjust file permissions.
Windows Symlink Issues
If you face Symlink issues on Windows, ensure you ran the installer as an administrator.
5. Why NVM is a Developer’s Best Friend
NVM simplifies Node.js version management, making it easier to:
Whether you’re a beginner or an experienced developer, NVM is a must-have tool in your development toolkit.
Conclusion
Installing NVM is a straightforward process that unlocks the flexibility to manage multiple Node.js versions effortlessly. Whether you’re on Windows, Linux, or macOS, this guide has you covered. Once installed, you’ll wonder how you ever lived without it!
Got questions or stuck somewhere? Drop a comment below, and I’ll be happy to help!
Happy Coding! 🚀
Recent posts form our Blog


.png)

.png)
.png)
0 Comments
Like 0