


.png)


.png)

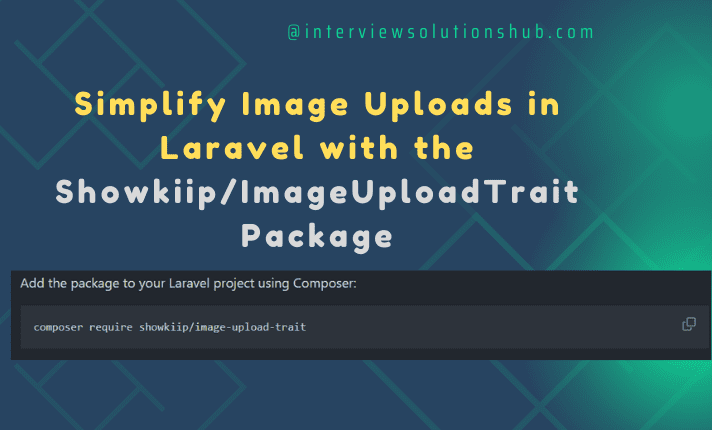
Simplify Image Uploads in Laravel
Read More


Integrating TinyMCE with React is a breeze using our @tinymce/tinymce-react package. Here's a straightforward guide to setting up a project using React, TinyMCE, and the Create React App:
First things first, let's get the Create React App installed. It's a handy tool for quickly setting up React projects.
Just run this command:
npm install -g create-react-appNow, let's create a new project using the Create React App. We'll name it tinymce-react-demo.
Run:
create-react-app tinymce-react-demoOnce it's done, navigate into the project directory:
cd tinymce-react-demo Install the npm package and save it to your package.json with --save.
Run:
npm install --save @tinymce/tinymce-reactAuto-loading from TinyMCE Cloud: If TinyMCE isn't available globally, @tinymce/tinymce-react automatically loads TinyMCE Cloud. To avoid warnings, sign up for the cloud and use your API key like this:
<Editor apiKey='YOUR_API_KEY' init={{ /* your other settings */ }} />Loading TinyMCE by yourself: If you prefer not to use TinyMCE Cloud, you'll need to make TinyMCE globally available yourself. This can be done by hosting tinymce.min.js or installing TinyMCE via npm.
<script src="https://cdn.tiny.cloud/1/no-api-key/tinymce/4/tinymce.min.js"></script>Open the provided App.js file in the src directory and replace its content with the following code:
import React from 'react';
import { Editor } from '@tinymce/tinymce-react';

class App extends React.Component {
  handleEditorChange = (e) => {
    console.log('Content was updated:', e.target.getContent());
  }

  render() {
    return (
      <Editor
        initialValue="<p>This is the initial content of the editor</p>"
        init={{
          plugins: 'link image code',
          toolbar: 'undo redo | bold italic | alignleft aligncenter alignright | code'
        }}
        onChange={this.handleEditorChange}
      />
    );
  }
}Fire up the development server provided with the Create React App.
Run:
npm start6. Keep on leaning:
This guide gives you a simple start. For more complex configurations, refer to the React documentation and explore further.
That's it! You're all set to integrate TinyMCE with your React project. Happy coding!

Greetings, I'm a passionate full-stack developer and entrepreneur. I specialize in PHP, Laravel, React.js, Node.js, JavaScript, and Python. I own interviewsolutionshub.com, where I share tech tutorials, tips, and interview questions. I'm a firm believer in hard work and consistency. Welcome to interviewsolutionshub.com, your source for tech insights and career guidance.
Recent posts form our Blog
.png)
.png)

0 Comments
Like 1