


.png)


.png)


Using a Mind Map to Brainstorm Ideas and Finding Solutions to Complex Problems
Read More

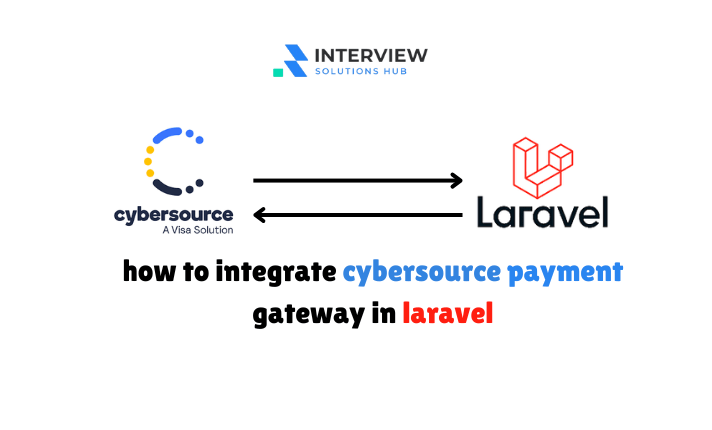
In today's competitive e-commerce landscape, providing a seamless and secure payment experience is critical to customer satisfaction and business growth. CyberSource is a leading payment gateway with advanced features for online transactions. This blog post explains how to integrate CyberSource into your Laravel application directly, so you can accept payments effectively without depending on third-party packages.
Http facade..env file.$apiEndpoint = 'https://apitest.cybersource.com/pts/v2/payments';
$requestData = [
    "clientReferenceInformation" => [
        "code" => "TC50171_3", // Replace with your unique reference code
    ],
    "paymentInformation" => [
        "card" => [
            "number" => $request->card_number, // From user input
            "expirationMonth" => $request->expiry_month, // From user input
            "expirationYear" => $request->expiry_year, // From user input
        ],
    ],
    "orderInformation" => [
        "amountDetails" => [
            "totalAmount" => $request->total_amount, // From user input
            "currency" => "USD",
        ],
        "billTo" => [
            "firstName" => $request->full_name, // From user input
            "lastName" => "Doe", // Can be pre-populated or from user input
            "address1" => "1 Market St", // Can be pre-populated or from user input
            "locality" => "San Francisco", // Can be pre-populated or from user input
            "administrativeArea" => "CA", // Can be pre-populated or from user input
            "postalCode" => "94105", // Can be pre-populated or from user input
            "country" => "US",
            "email" => $request->email, // From user input
            "phoneNumber" => "4158880000", // Can be pre-populated or from user input
        ],
    ],
];
$vCDate = gmdate('D, d M Y H:i:s T');
$digest = 'SHA-256=' . base64_encode(hash('sha256', json_encode($requestData), true));
$signatureString = '(request-target): post /pts/v2/payments' . "\n" .
    'host: apitest.cybersource.com' . "\n" .
    'digest: ' . $digest . "\n" .
    'v-c-merchant-id: ' . env('MERCHANT_ID');
$signature = base64_encode(hash_hmac('sha256', $signatureString, base64_decode(env('API_SECRET')), true));
Http facade to send a POST request with the prepared data and headers:
$headers = [
    'host' => 'apitest.cybersource.com',
    'signature' => 'keyid="' . env('API_KEY') . '", algorithm="HmacSHA256", headers="(request-target) host digest v-c-merchant-id", signature="' . $signature . '"',
    'digest' => $digest,
    'v-c-merchant-id' => env('MERCHANT_ID'),
    'v-c-date' =>   'Content-Type' => 'application/json',
   ];

   $response = Http::withHeaders($headers)->post($apiEndpoint, $requestData);

   // Process the response
   if ($response->successful()) {
       $result = $response->json();
       if ($result['status'] == "AUTHORIZED") {
           // Payment successful!
           $transaction = new Transaction();
           $transaction->fullname = $request->full_name;
           $transaction->transaction_id = $result['id'];
           $transaction->credit_to = $request->credit_to; // Assuming credit_to field exists
           $transaction->payment_type = $request->payment_type; // Assuming payment_type field exists
           $transaction->description = $request->description; // Assuming description field exists
           $transaction->amount = $request->total_amount;
           $transaction->charged_amount = $request->total_amount;
           $transaction->email = $request->email;
           $transaction->phone = $request->phone;
           $transaction->status = $result['status'];
           $transaction->save();

           return back()->with('success', 'Payment Successfully!');
       } else {
           // Payment failed! Handle error message
           $errorMessage = "Payment Failed: " . $result['message'];
           return view('cybersource.payment-error', ['errorMessage' => $errorMessage]);
       }
   } else {
       // Handle general API request errors
       $errorMessage = "An error occurred while processing your payment. Please try again.";
       return view('cybersource.payment-error', ['errorMessage' => $errorMessage]);
   }
$response->successful().status."AUTHORIZED" status), we create a new Transaction model instance and populate it with relevant details from the request and response.cybersource.payment-error).This concludes the integration of CyberSource into your Laravel application without relying on a package. Remember to test the functionality thoroughly in both development and testing environments before deploying to production.

Greetings, I'm a passionate full-stack developer and entrepreneur. I specialize in PHP, Laravel, React.js, Node.js, JavaScript, and Python. I own interviewsolutionshub.com, where I share tech tutorials, tips, and interview questions. I'm a firm believer in hard work and consistency. Welcome to interviewsolutionshub.com, your source for tech insights and career guidance.
Recent posts form our Blog


.png)

0 Comments
Like 1