


.png)


.png)

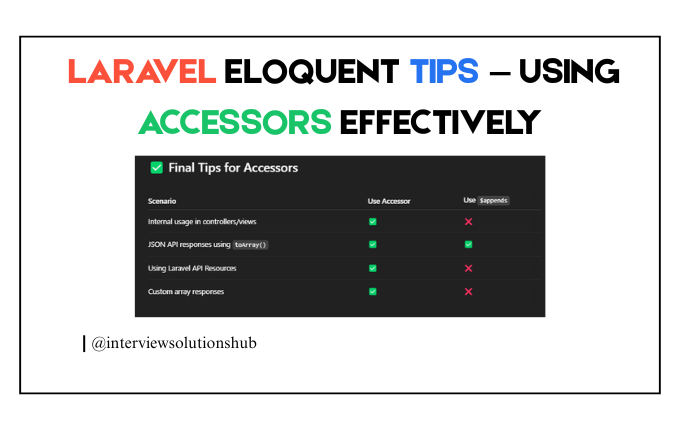
Laravel Eloquent Tips — Using Accessors Effectively
Read More
.png)
In this article, we will look at how integrating CoinGate into your Laravel 10 application can provide a smooth payment experience for users who prefer to pay with cryptocurrency. CoinGate lets you accept payments in Bitcoin, Ethereum, Litecoin, and other popular cryptocurrencies. In this article, we will walk you through the steps required to integrate CoinGate into your Laravel 10 app.
Before we start, please ensure that you have the following conditions in place:
You can use Composer to create a Laravel project if you don't already have one. Run the following command in your terminal:
This command will generate the coingate-laravel project.
Now that you've set up your Laravel project, you need to install the CoinGate PHP SDK. You can do this using Composer. In your terminal, navigate to the root directory of your project and run:
Composer will download and install the CoinGate PHP SDK and its dependencies.
Following that, you must configure CoinGate in your Laravel application. Open the .env file in the root directory of your project and enter your CoinGate API credentials:
Make sure to replace your_api_key, your_app_id, and your_app_secret with your actual CoinGate API credentials.
You may create a new Laravel controller to manage CoinGate transactions. To create a new controller, use the following command:
This command will create a new file named CoinGateController.php in the app/Http/Controllers directory.
In this example, the createPayment method initiates a payment request, and the handleCallback method handles the CoinGate callback.
Finally, routes for your CoinGate payment and callback destinations must be defined. Add the following kinds of routes to the routes/web.php file:
Congratulations! You've successfully integrated CoinGate with your Laravel operation, allowing you to accept cryptocurrency payments. With this integration, you can tap into the world of cryptocurrencies and offer your guests more payment options.
Flash back to test your integration completely and follow CoinGate's attestation for fresh features and customization options. Happy coding!
How to Integrate paypal with Laravel 10: Click here

Greetings, I'm a passionate full-stack developer and entrepreneur. I specialize in PHP, Laravel, React.js, Node.js, JavaScript, and Python. I own interviewsolutionshub.com, where I share tech tutorials, tips, and interview questions. I'm a firm believer in hard work and consistency. Welcome to interviewsolutionshub.com, your source for tech insights and career guidance.
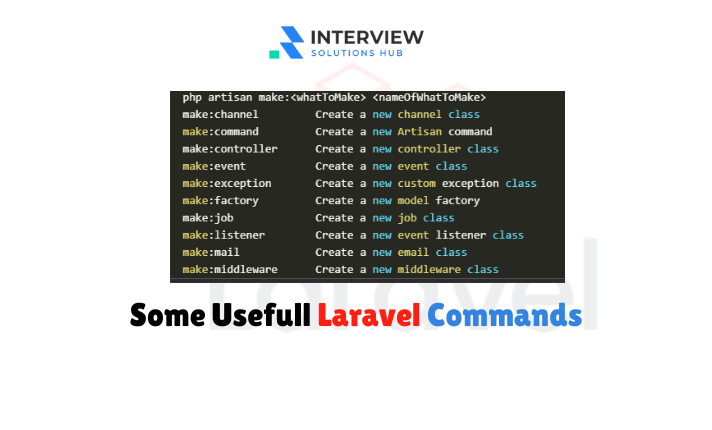
Recent posts form our Blog

.png)


0 Comments
Like 0