


.png)


.png)

Pusher real-time Notification with Laravel and React.js
Read More

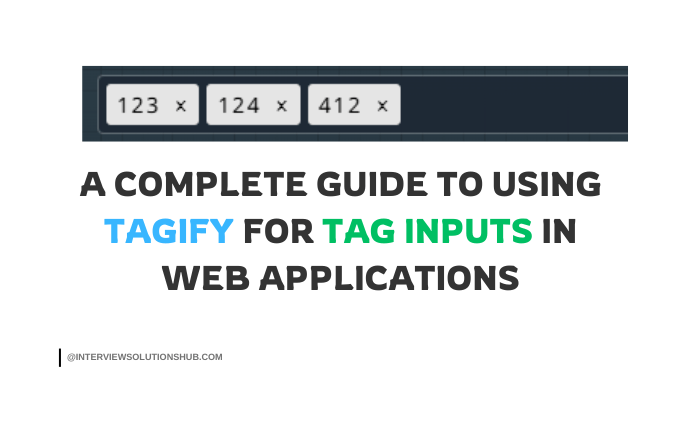
Tag inputs are a common feature in modern web applications, allowing users to add multiple items (tags) in a single input field. Whether you're building a form for adding keywords, categories, or any other list of items, Tagify is a lightweight and powerful JavaScript library that makes it easy to implement tag inputs.
In this blog, we'll walk through how to use Tagify to create a tag input field, handle user interactions, and customize its behavior. By the end, you'll have a fully functional tag input system that you can integrate into your projects.
Tagify is a lightweight, customizable JavaScript library for creating tag inputs. It transforms a regular input field into a dynamic tag input system, allowing users to add, edit, and remove tags easily. Key features include:
To get started, include the Tagify library in your project. You can use a CDN or install it via npm.
Using a CDN
Add the following script tag to your HTML file:
<script src="https://cdn.jsdelivr.net/npm/@yaireo/tagify"></script>

<link rel="stylesheet" href="https://cdn.jsdelivr.net/npm/@yaireo/tagify/dist/tagify.css">
Using npm
If you're using a build system like Webpack or Vite, install Tagify via npm:
npm install @yaireo/tagify
Then, import it into your JavaScript file:
import Tagify from '@yaireo/tagify';

import '@yaireo/tagify/dist/tagify.css';
Step 2: HTML Structure
Create an input field where Tagify will be applied. For example:
<div class="tag-input-container">

    <input type="text" class="tagify-input" placeholder="Enter tags separated by commas">

</div>

<button class="tags--removeAllBtn" type="button">Remove all tags</button>
Step 3: Initialize Tagify
Now, let's initialize Tagify on the input field and configure it.
document.addEventListener('DOMContentLoaded', function () {

    // Select the input element

    var inputElm = document.querySelector('.tagify-input');


    // Initialize Tagify

    var tagify = new Tagify(inputElm, {

        enforceWhitelist: false, // Allow any tag input

        dropdown: {

            enabled: 0, // Disable dropdown suggestions

        },

    });


    // "Remove all tags" button event listener

    document.querySelector('.tags--removeAllBtn')

        .addEventListener('click', function () {

            tagify.removeAllTags(); // Remove all tags

        });


    // Event listeners for Tagify

    tagify.on('add', onAddTag)

          .on('remove', onRemoveTag)

          .on('input', onInput)

          .on('edit', onTagEdit)

          .on('invalid', onInvalidTag)

          .on('click', onTagClick)

          .on('focus', onTagifyFocusBlur)

          .on('blur', onTagifyFocusBlur)

          .on('dropdown:hide dropdown:show', e => console.log(e.type))

          .on('dropdown:select', onDropdownSelect);


    // Tag added callback

    function onAddTag(e) {

        console.log("onAddTag: ", e.detail);

        console.log("original input value: ", inputElm.value);

    }


    // Tag removed callback

    function onRemoveTag(e) {

        console.log("onRemoveTag:", e.detail, "tagify instance value:", tagify.value);

    }


    // On character(s) added/removed (user is typing/deleting)

    function onInput(e) {

        console.log("onInput: ", e.detail);

    }


    // Tag edited callback

    function onTagEdit(e) {

        console.log("onTagEdit: ", e.detail);

    }


    // Invalid tag added callback

    function onInvalidTag(e) {

        console.log("onInvalidTag: ", e.detail);

    }


    // Tag clicked callback

    function onTagClick(e) {

        console.log("onTagClick: ", e.detail);

    }


    // Focus/blur callback

    function onTagifyFocusBlur(e) {

        console.log(e.type, "event fired");

    }


    // Dropdown select callback

    function onDropdownSelect(e) {

        console.log("onDropdownSelect: ", e.detail);

    }

});
Step 4: Customizing Tagify
Tagify is highly customizable. Here are some common configurations:
1. Allow Duplicates
By default, Tagify prevents duplicate tags. To allow duplicates, set the duplicates option to true:
var tagify = new Tagify(inputElm, {

    duplicates: true,

});
2. Whitelist
If you want to restrict tags to a predefined list, use the whitelist option:
var tagify = new Tagify(inputElm, {

    whitelist: ["JavaScript", "Python", "Java", "C++"],

    enforceWhitelist: true, // Only allow tags from the whitelist

});
3. Custom Delimiter
By default, Tagify uses commas to separate tags. You can change this with the delimiters option:
var tagify = new Tagify(inputElm, {

    delimiters: "|", // Use "|" as the delimiter

});
4. Styling
You can customize the appearance of tags using CSS. For example:
.tagify__tag {

    background: #4CAF50;

    color: white;

}
.tagify__tag__removeBtn {

    color: white;

}


.tagify__tag__removeBtn:hover {

    background: #f44336;

}
Step 5: Handling Tagify Events
Tagify provides a rich set of events to handle user interactions. Here's a summary of the most commonly used events:
You can use these events to implement custom logic, such as validating tags or updating the UI.
Step 6: Example Use Case
Let's say you're building a blog platform and want to allow users to add tags to their posts. Here's how you can use Tagify for this purpose:
<div class="tag-input-container">

    <input type="text" class="tagify-input" placeholder="Add tags for your post">

</div>

<button class="tags--removeAllBtn" type="button">Clear all tags</button>
document.addEventListener('DOMContentLoaded', function () {
var inputElm = document.querySelector('.tagify-input');
var tagify = new Tagify(inputElm, {
enforceWhitelist: false,
});
document.querySelector('.tags--removeAllBtn')
.addEventListener('click', function () {
tagify.removeAllTags();
});
tagify.on('add', function (e) {
console.log("Tag added:", e.detail);
}).on('remove', function (e) {
console.log("Tag removed:", e.detail);
});
});Conclusion
Tagify is a powerful and flexible library for implementing tag inputs in web applications. With its easy setup, rich customization options, and comprehensive event system, you can create a seamless user experience for managing tags.
Whether you're building a blog, an e-commerce platform, or any other application that requires tag inputs, Tagify is a great choice. Give it a try in your next project!
Resources
Let me know if you have any questions or need further assistance! 😊

Greetings, I'm a passionate full-stack developer and entrepreneur. I specialize in PHP, Laravel, React.js, Node.js, JavaScript, and Python. I own interviewsolutionshub.com, where I share tech tutorials, tips, and interview questions. I'm a firm believer in hard work and consistency. Welcome to interviewsolutionshub.com, your source for tech insights and career guidance.
Recent posts form our Blog

.png)
![[FIXED] target class [role] does not exist in laravel 11](https://www.interviewsolutionshub.com/storage/blogs/images/1721121368Frontend design for your business (6).png)
.png)
.png)
0 Comments
Like 0